7-zip packaging markup
In this brief introduction, I’ll show you how to quickly change the user interface language of the 7-Zip file archiver application.
Introduction
With the release of Smart Package Studio, we’re authoring a series of blog posts that give examples of packaging tasks performed using it, as well as tips and tricks. In this brief introduction, I’ll show you how to quickly change the user interface language of the 7-Zip file archiver application.
Prerequisites:
- Smart Package Studio 4.5 or newer.
Guide
This post will cover how to choose a different language for the free archiver application 7-Zip.
7-Zip defaults to using the same locale as set for the operating system’s regional settings, but it is often desirable to force it to use a specified language instead.
We start by downloading the source file from: https://www.7-zip.org/download.html
7-Zip has a choice between an executable (.EXE) installer and an MSI package. This post will focus on the MSI package, so download the 64-bit MSI package.
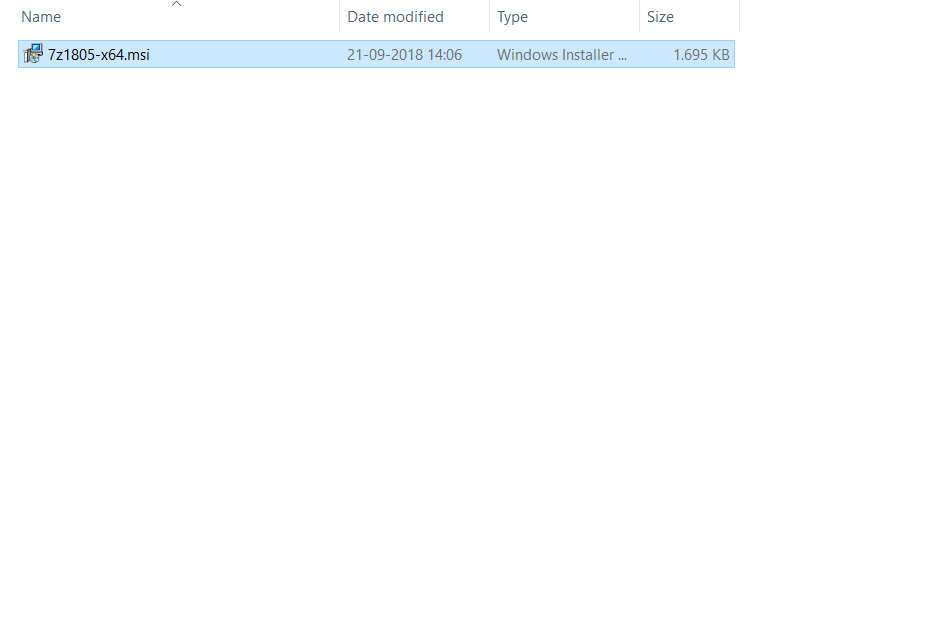
With Smart Package Studio installed, the MSI package can be opened in Smart Editor by right-clicking on the file and selecting “Open in Smart Editor”.
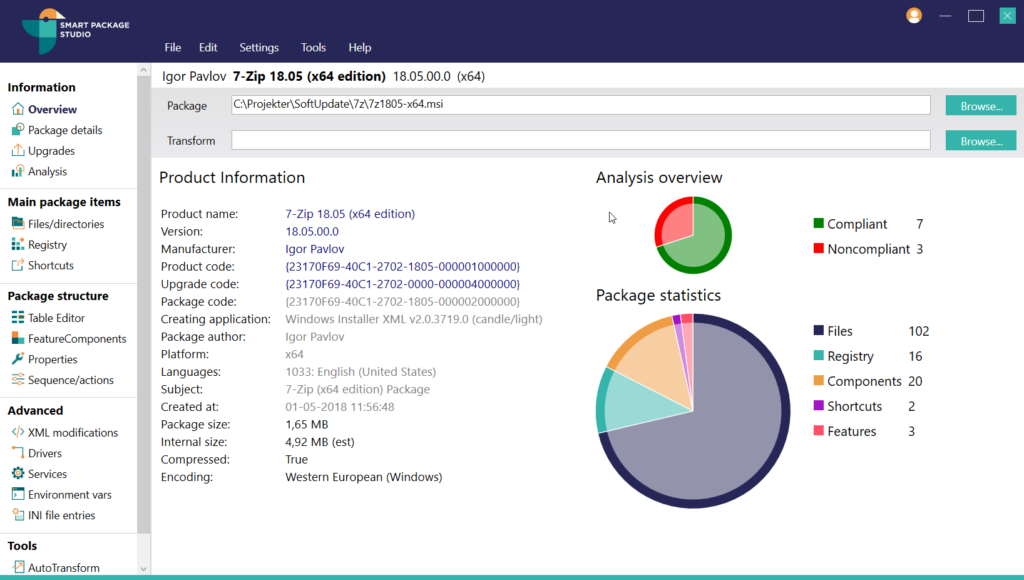
When editing vendor MSI packages, it’s always a good initial step is to ensure that the correct standard properties are set. Smart Editor’s Analysis feature can be used to quickly and easily do this.
The default analysis profile contains various generic properties that apply to most customers, such as setting REBOOT=ReallySuppress to ensure that a reboot is not automatically initiated after the package is deployed.
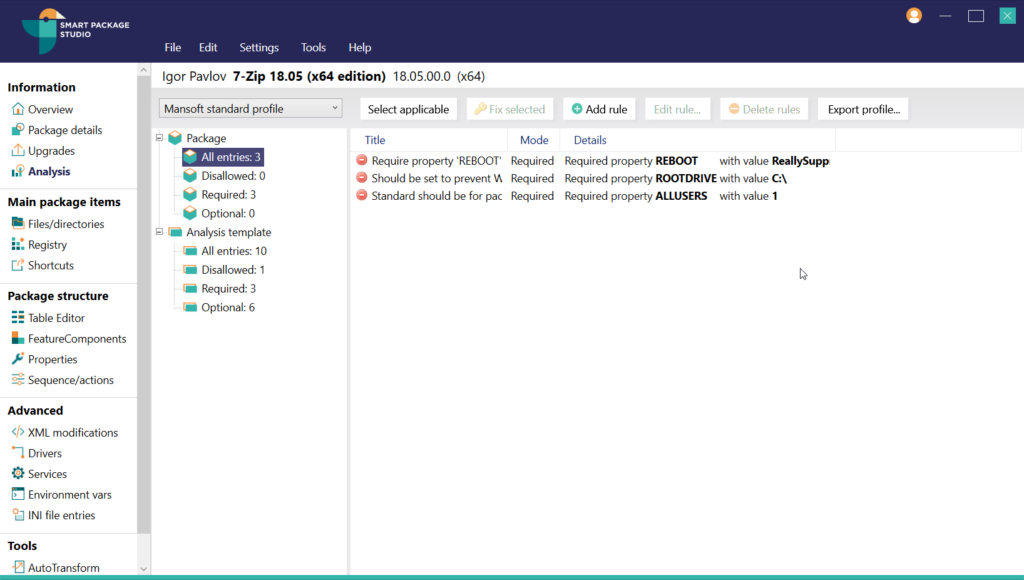
The default templates can be modified, and new custom templates can be added.
Moving on, setting the language for 7-Zip involves setting a registry value in HKEY_CURRENT_USER.
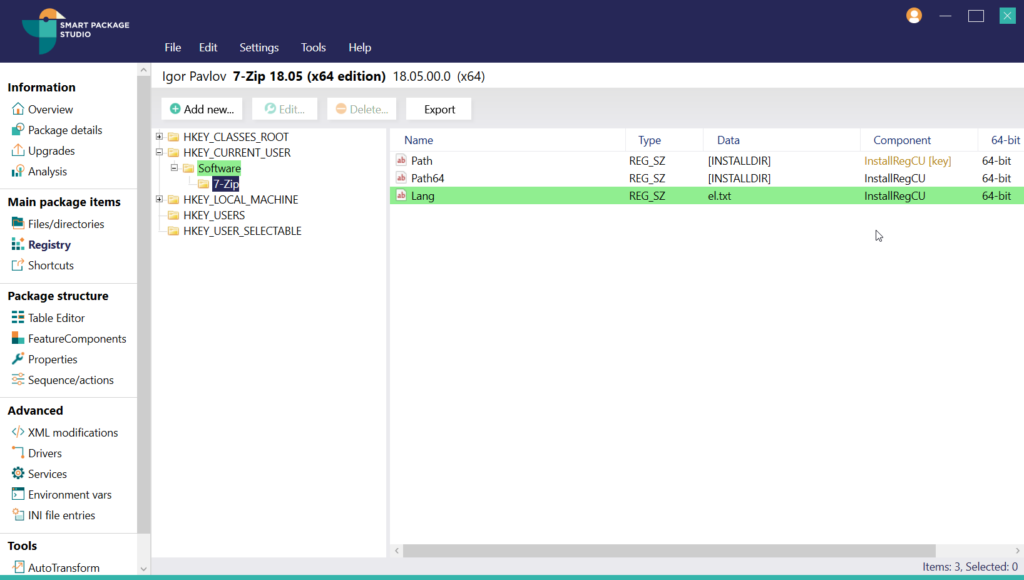
The registry value should be added as a string value in the path “HKEY_CURRENT_USER/Software/7-Zip/”, called “Lang” and set to the name of one of the language text files that is contained in the package. In the above example it’s been set to Greek.
Note: When adding a new registry value, Smart Editor will automatically put it into the same component as other registry values located in the same key. In the above example it has been added to the existing component InstallRegCU. When adding registry values to the user area of an MSI package, it is important to check that the containing component has its Key Path set to a registry value located in HKEY_CURRENT_USER to ensure that it is correctly created in the registry during self-repair.
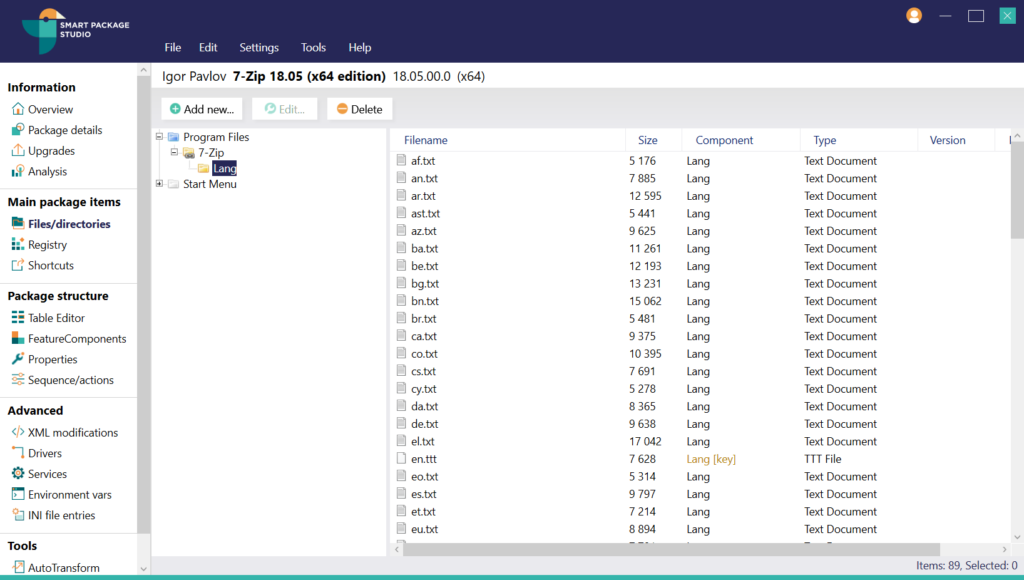
To see what languages are supported, you can find all the language files in the Files/directories tab under “Program files\7-Zip\Lang”.
Once the registry value has been added, go ahead and save the project.

Notice Smart Editor suggests saving as a Transform (.MST) file by default when editing an existing MSI package. It is also possible to save the changes as a new MSI package, but for vendor MSI packages this is dissuaded by Microsoft specifications.
Now your package is ready for testing.
Download your free 10-day trial today
- Downloading and evaluating Smart Package Studio is quick and easy
- Includes a short introductory guide that suggests smart features to try
- Access the full functionality of Smart Package Studio during the trial

