How to pack Notepad ++
In this brief introduction, I will show you how to quickly turn a legacy installation into an MSI package compatible with all major deployment systems (Microsoft SCCM, InTune, Active Directory, etc.).
Introduction
With the release of Smart Package Studio we are authoring a series of blog posts to give examples of packaging tasks performed using it, as well as tips and tricks. In this brief introduction, I will show you how to quickly turn a legacy installation into an MSI package compatible with all major deployment systems (Microsoft SCCM, InTune, Active Directory, etc.).
Prerequisites
- VirtualBox 5.2 or newer installed. (https://www.virtualbox.org/wiki/Downloads)
- Smart Capture set up with VirtualBox virtual machines
- Smart Package Studio 4.5 or newer.
Guide
This post will cover how to capture Notepad++ to an MSI package using Smart Capture.
Download Notepad ++ from the vendor site https://notepad-plus-plus.org/download/v7.5.8.html
We will use the x64 version because most organizations no longer use x86 operating systems.
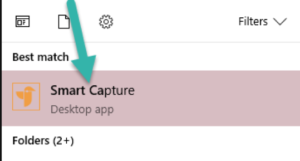
Start Smart Capture.
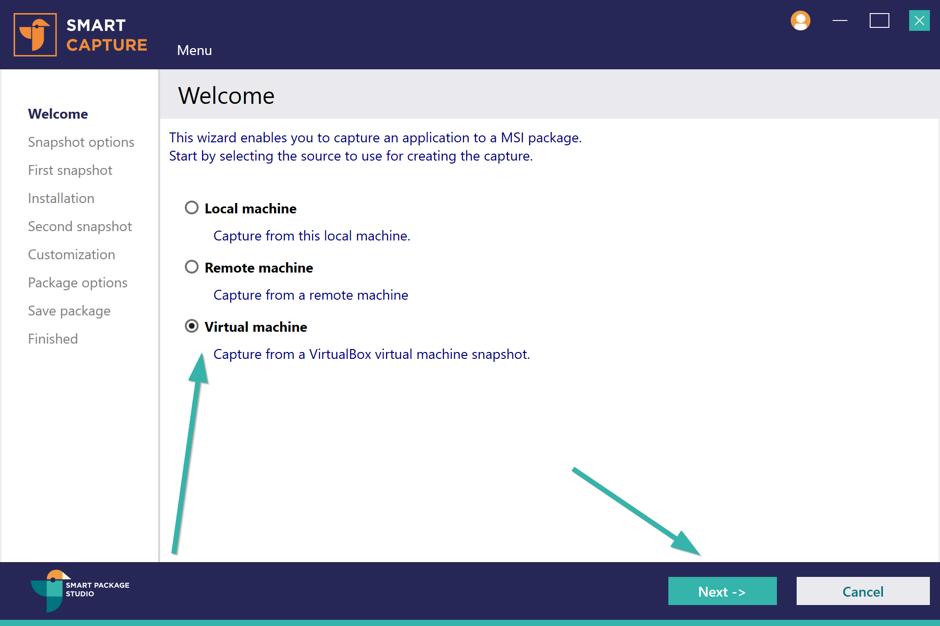
Choose Virtual Machine and press Next.
Note: While this post describes how to capture from a virtual machine, the procedure is no different for capturing from the local machine or from a remote machine.
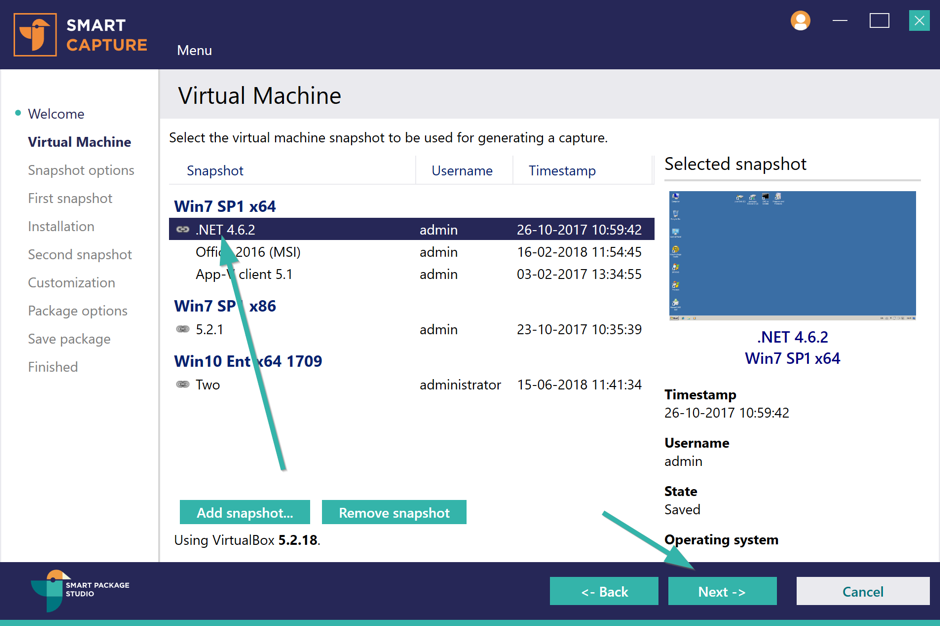
Choose the snapshot to be used for capturing the software and press Next.
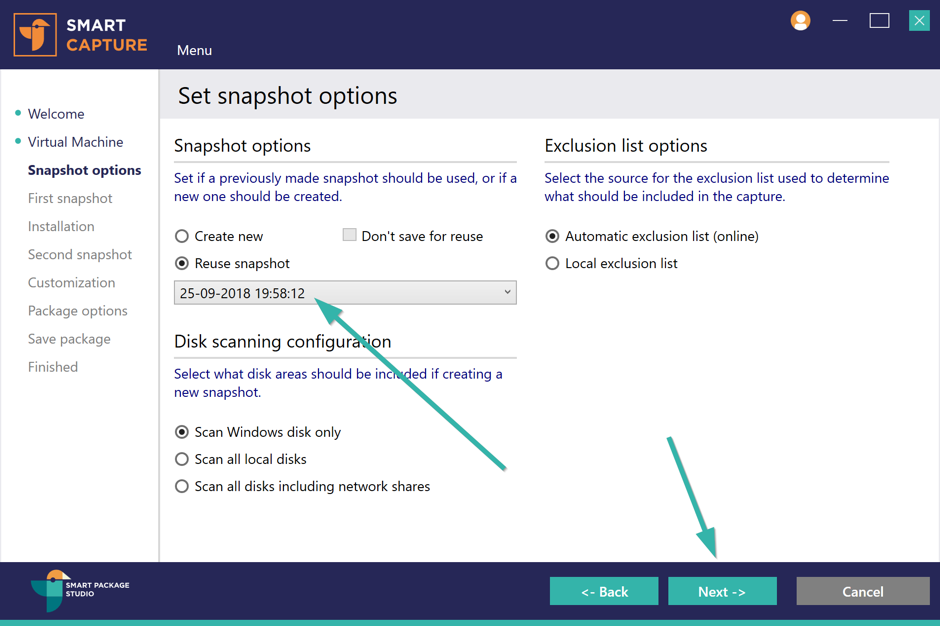
1. Because Smart Capture already knows the state of the virtual machine, it does not need the initial scan. We will reuse the known state. The first time you use a virtual machine snapshot, you will have to create a new capture snapshot.
2. We use Automatic exclusion list (online) as this connects to the Smart Package Studio cloud service and leverages the machine learning algorithms that analyze the exclusions created by other users for a cleaner packaging result.
Click Next and VirtualBox will start up the virtual machine using the selected snapshot – unless it is already running.
Note: If the target virtual machine is already running, the selected snapshot will not be restored. This can be used to perform actions in the virtual machine before creating the first snapshot. In this case, the Don’t save for reuse option should be selected.
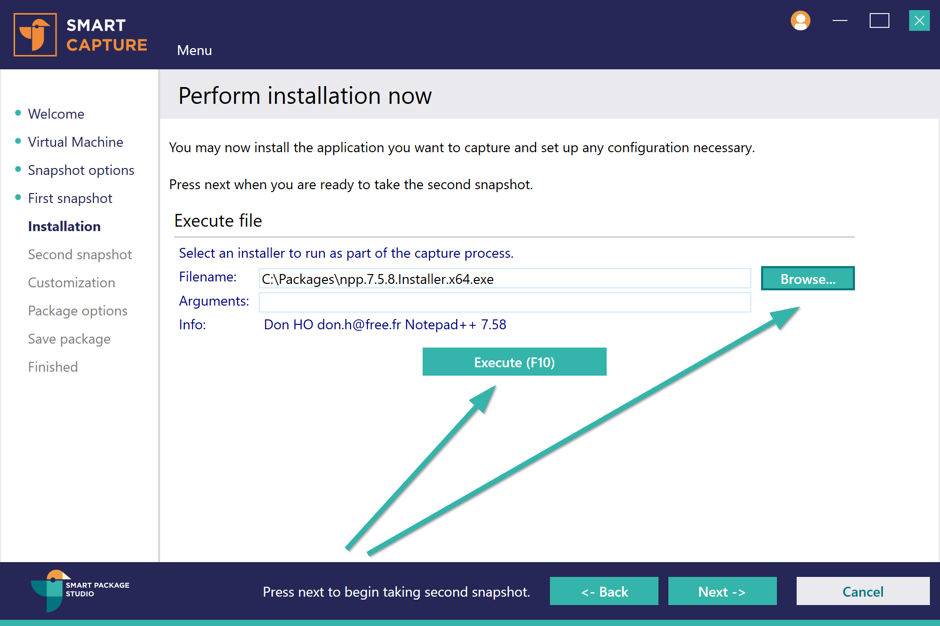
Browse for the installer or just run what needs to be captured inside the virtual machine manually.
After pressing Execute go to the virtual machine’s window and go through the Notepad++ installation.
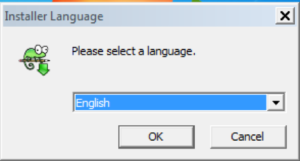
Select a language.
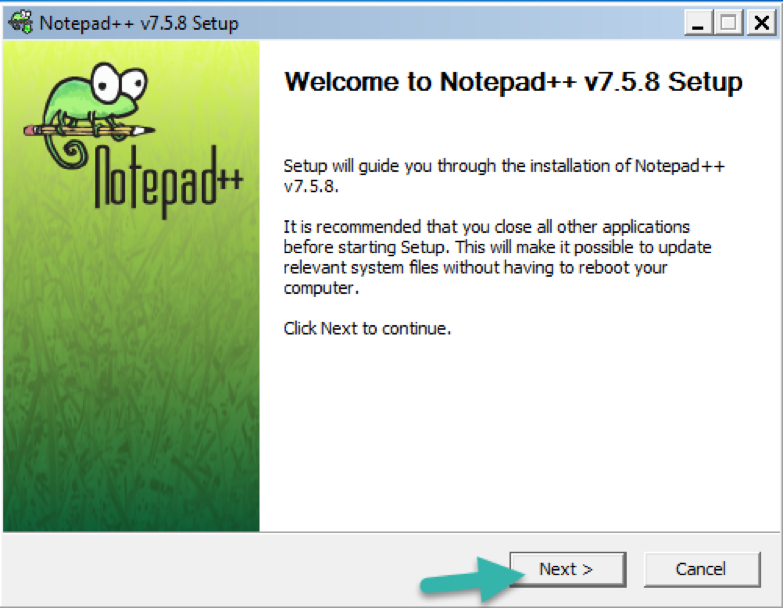
Click Next.
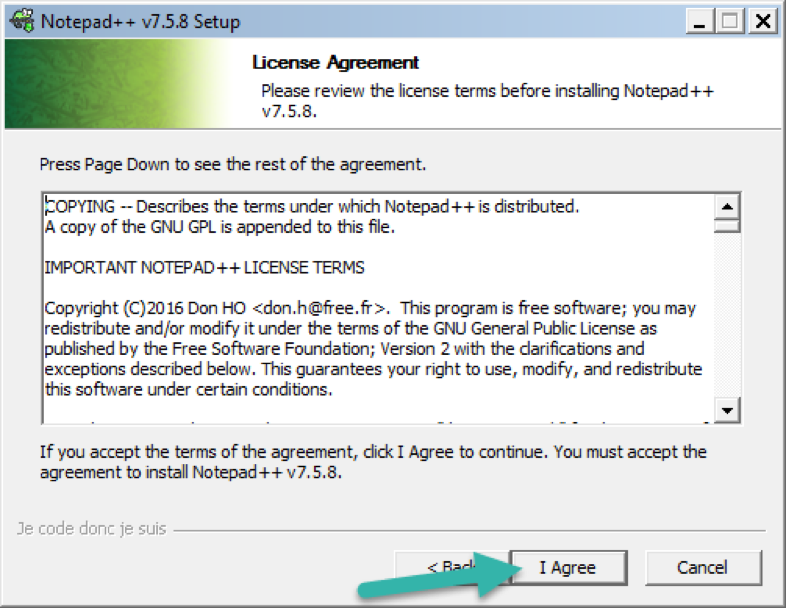
Click I Agree.
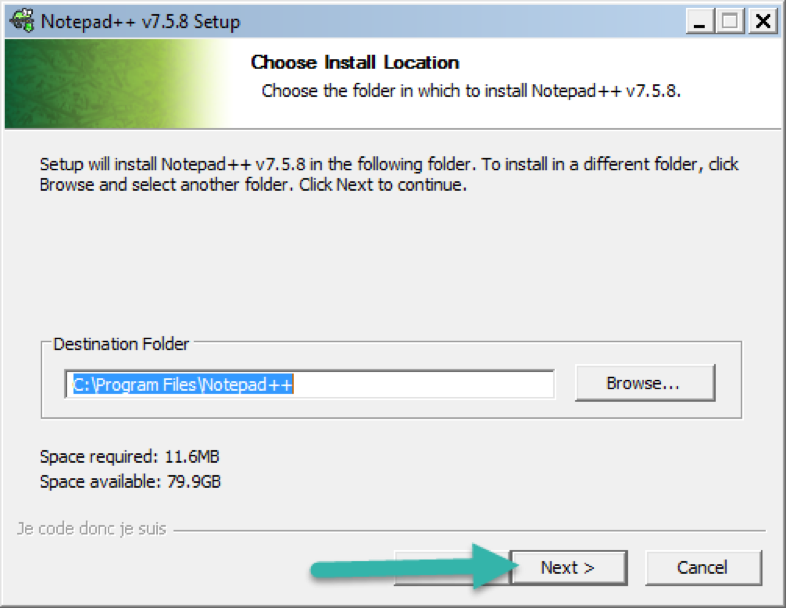
Click Next.
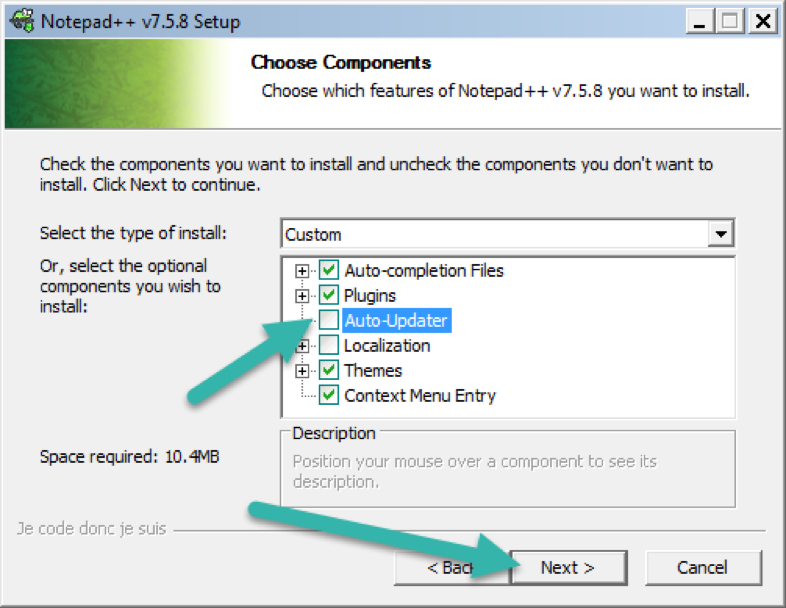
Deselect Auto-Updater and click Next.
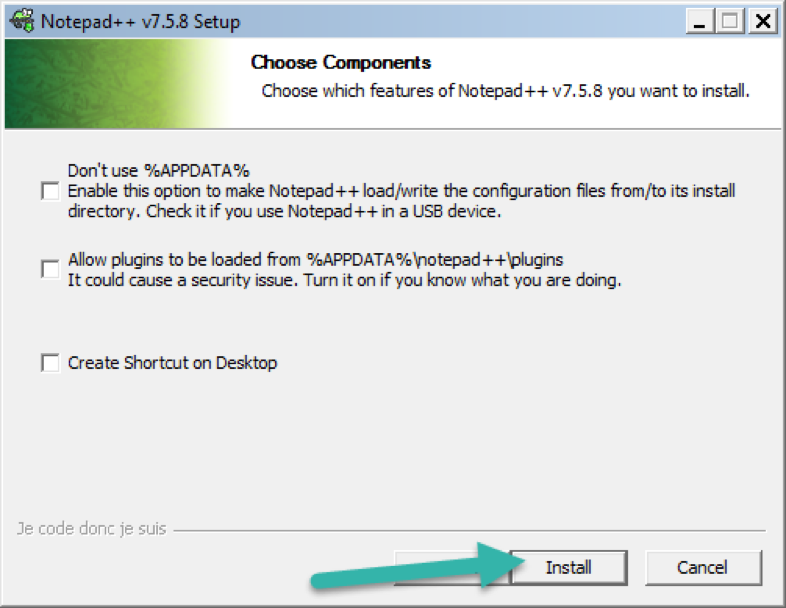
Click Install.
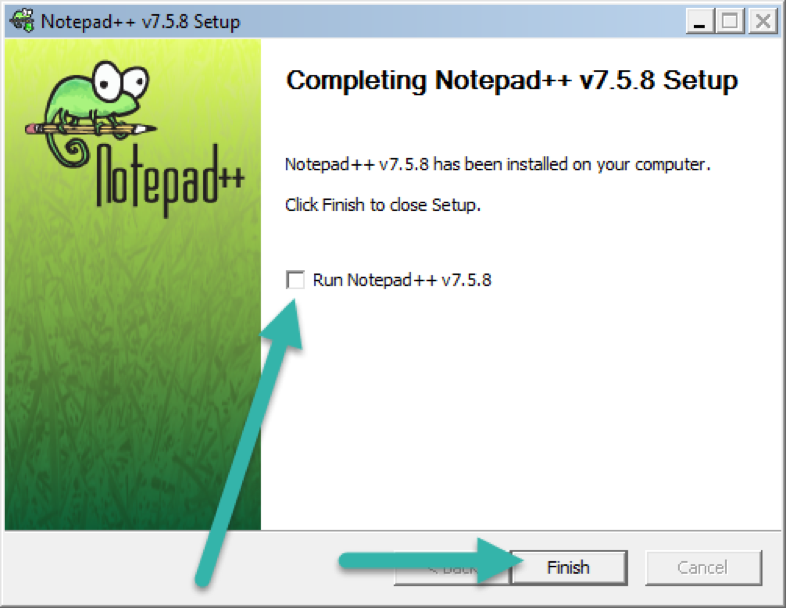
Unless there are settings within the software that need to be set, it is best not to start it before taking the second snapshot. Starting it at this point may create a lot of settings in the user area of the package that are not necessary.
The installation is now completed. Go back to the Smart Capture window and press Next to continue the capture process.
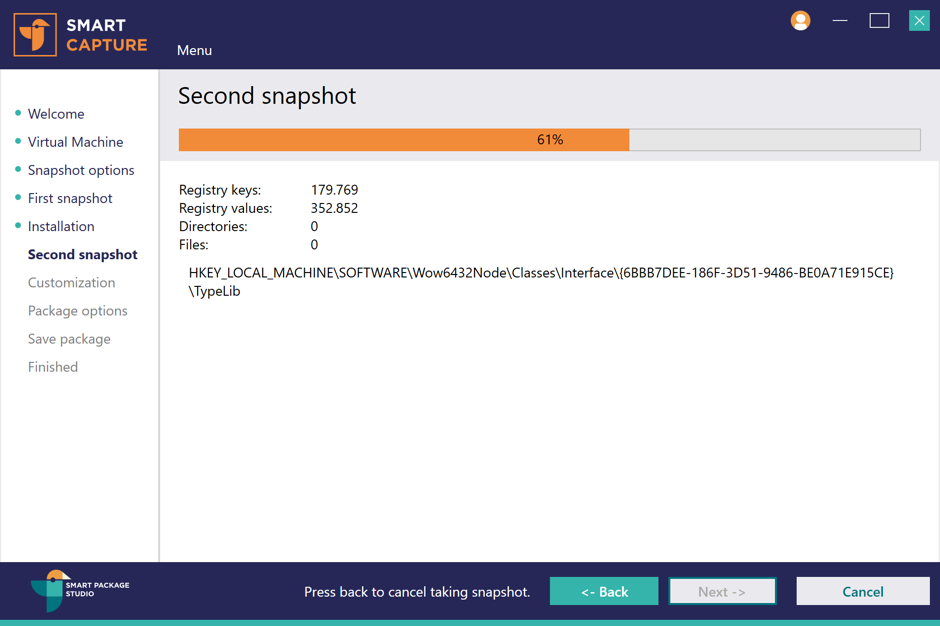
Smart Capture now creates the second comparison snapshot.
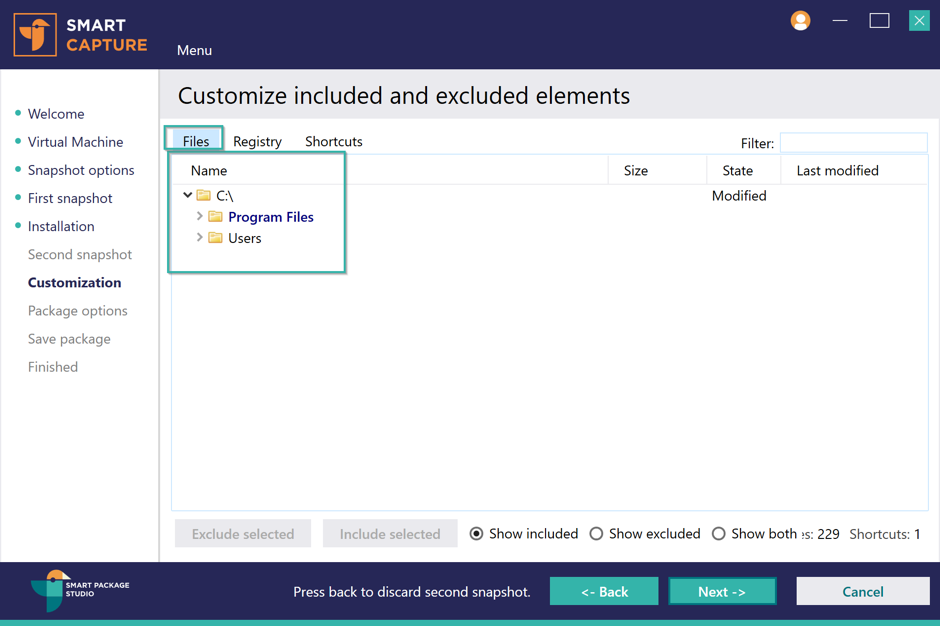
The next view shows items that have been captured and enables manually excluding and including them.
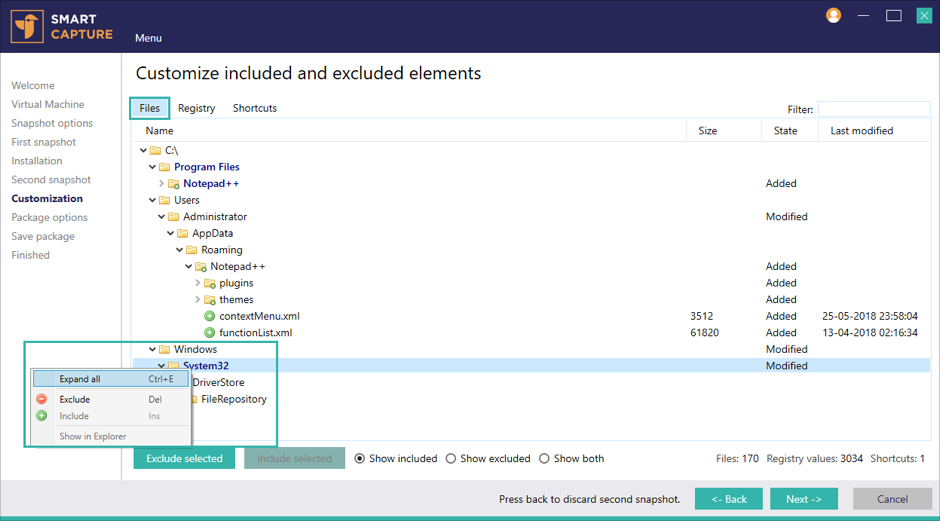
As you can see, there are very few files and folders left that should be excluded because the machine learning driven exclude filter has already excluded irrelevant items.
Click the Show excluded radio button to see how many items Smart Package Studio’s cloud filter has already excluded for you.
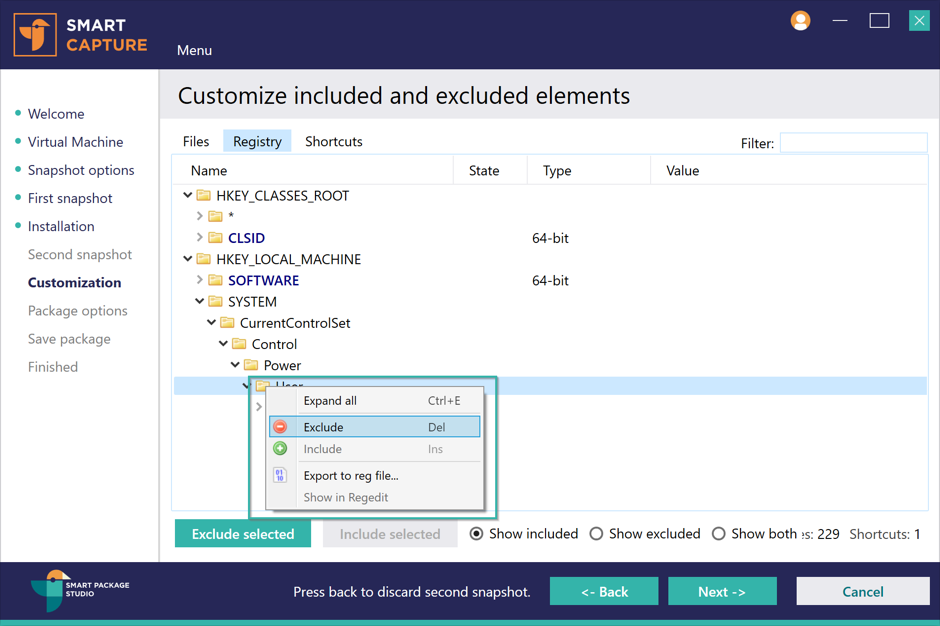
Registry values added to the machine are marked with green and should usually be included.
Modified registry values that existed on the machine before the package was installed are marked in yellow can often be excluded.
Click Next when the desired items have been excluded and/or included.
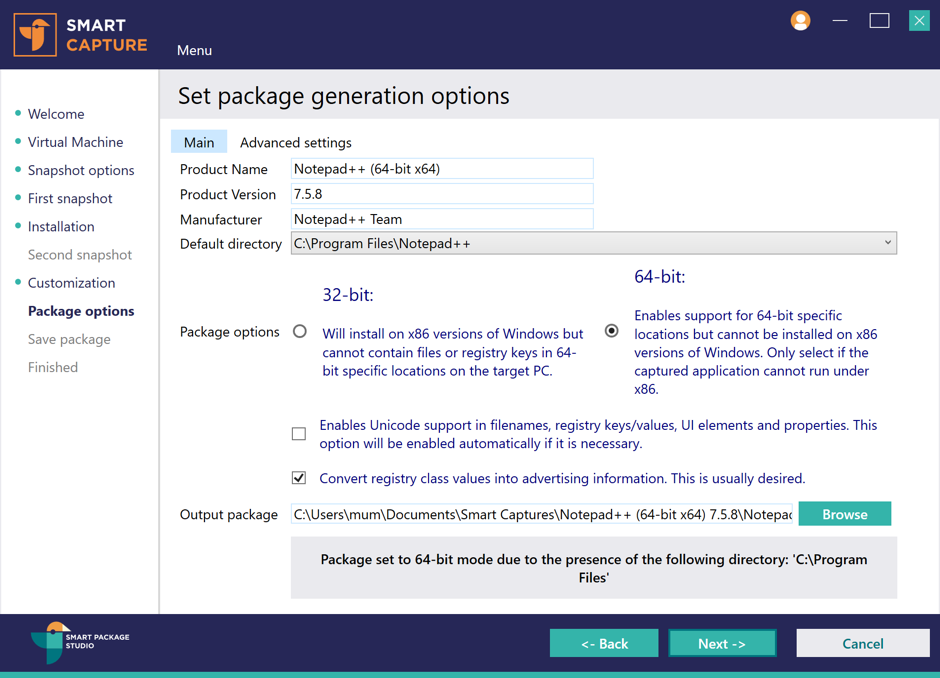
Smart Capture will attempt to find and populate the information for the package automatically, but it can be edited here if necessary.
The default directory and output folder for the generated package can be set here.
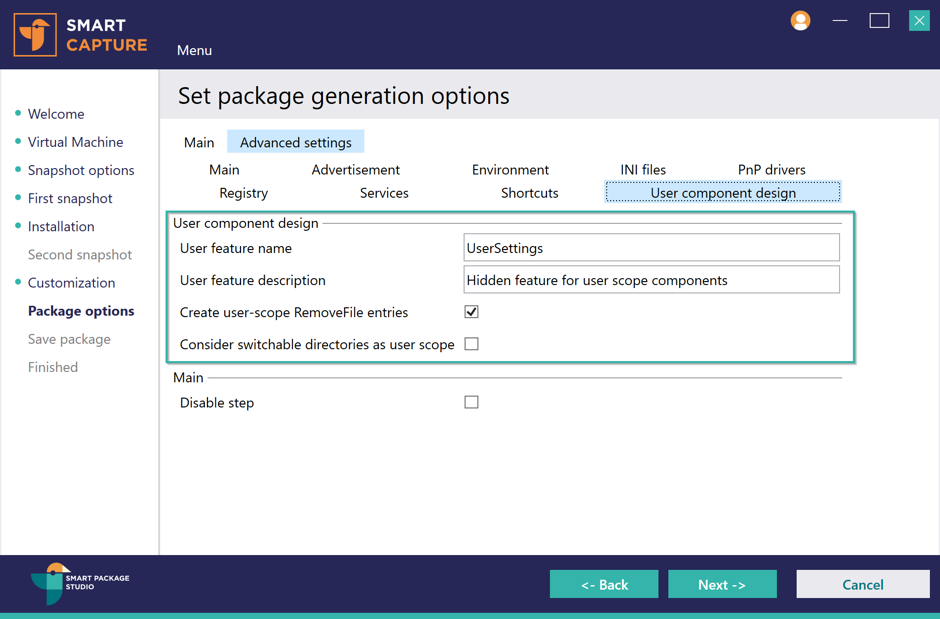
This package contains files located in the user profile. When a package contains files in the user profile, we usually need to create self-healing functionality in the package to ensure that the items in the user profile are automatically copied there when a shortcut from the package is activated.
Smart Capture will automatically create the necessary structure in the package for self-healing if items in the user profile are detected. In the Advanced settings -> User component design view you can configure the feature that the user profile entries will be placed into.
Click Next to start building the package.
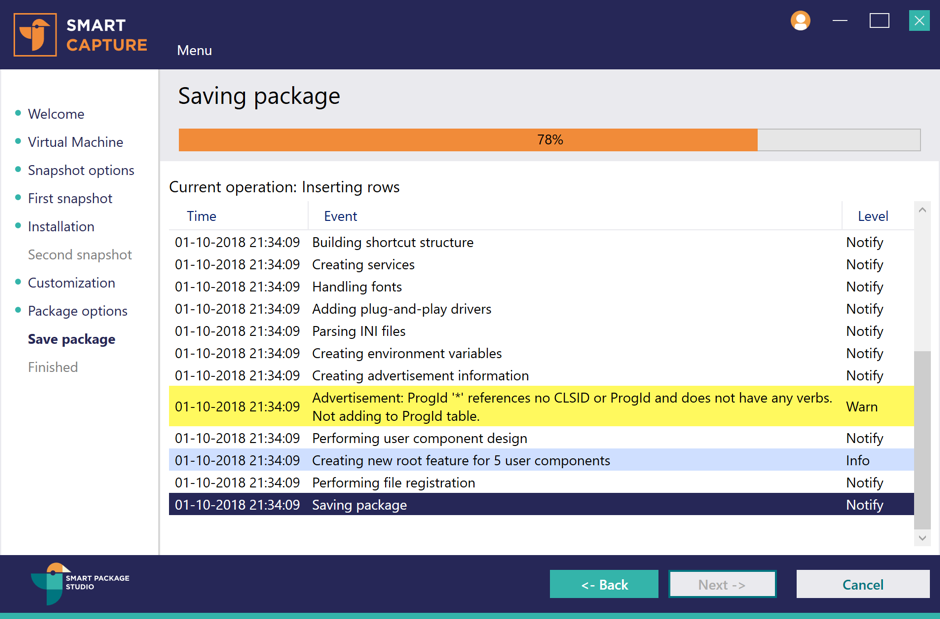
The package will now be built. Any warnings or errors will be displayed in the list of events.
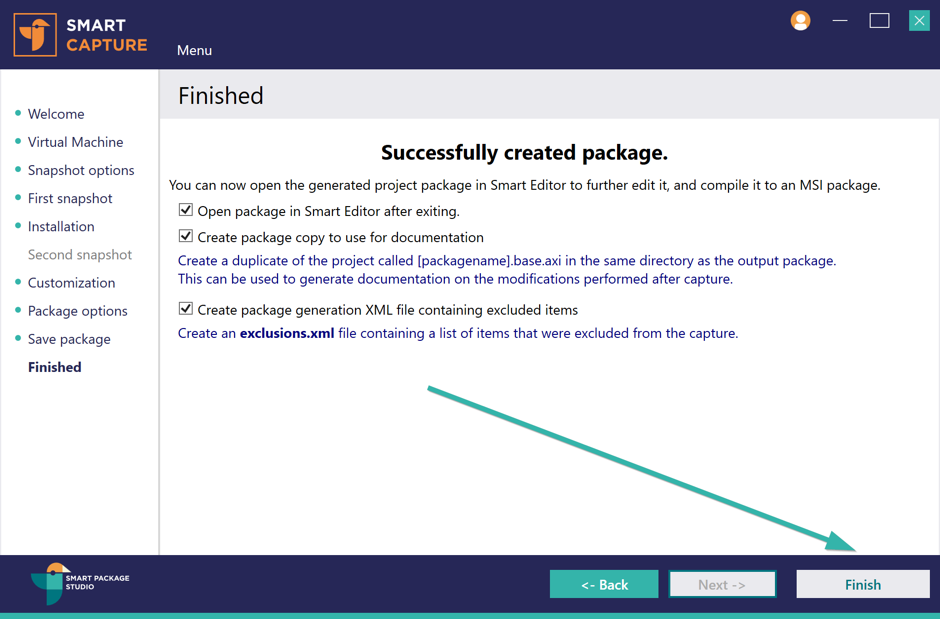
Click Finish.
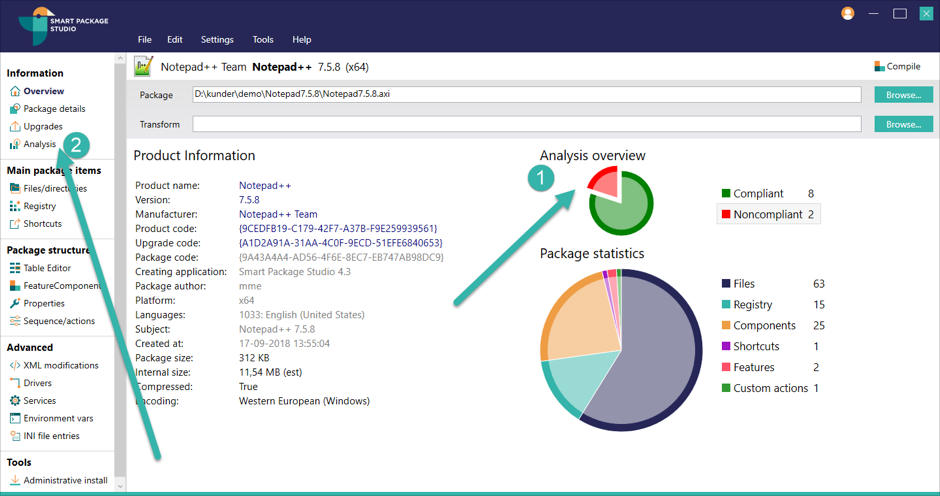
Unless the option was not selected in Smart Capture, the new package will automatically open in Smart Editor.
Analysis overview will tell us right away if the package is compliant with the current analysis profile.
Select the Analysis view to see the details of the compliancy.
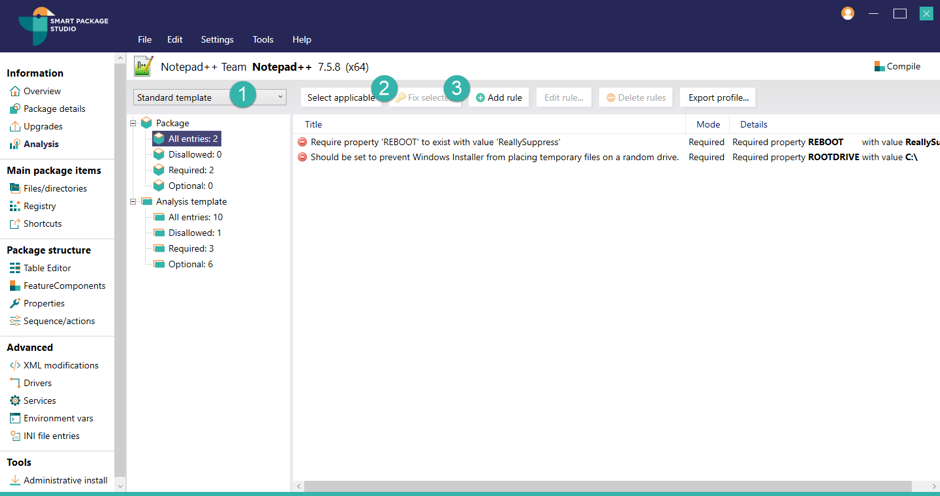
Here you can choose the analysis template to use (Point 1 in the screenshot above). The templates can be customized to the standards of your organization.
Click Select applicable (Point 2) and Fix selected (Point 3) and noncompliant items in the package will automatically be fixed.
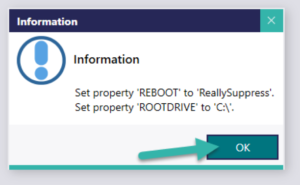
A dialog shows what items were changed in the package. Press OK.
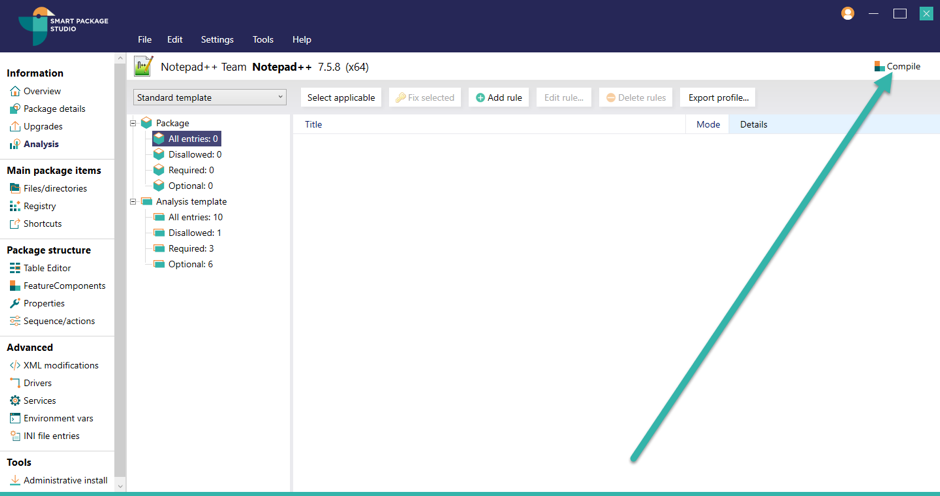
Since we sorted out files, registry and shortcuts in Smart Capture while creating the capture, we are ready to compile the project to a final MSI package. Press Compile.

Congratulations, your package is now ready for testing.
Download your free 10-day trial today
- Downloading and evaluating Smart Package Studio is quick and easy
- Includes a short introductory guide that suggests smart features to try
- Access the full functionality of Smart Package Studio during the trial

